Aaron's wreath
Super Simple! I won't lie, I got the idea off Pinterest...
- Spray paint a grapevine wreath (Less than $5 hobby lobby)
- Add silk flowers with a hot glue gun
- Use textured scissors to cut scrapbook paper, tie with raffia, and add sticky letters

Jace's Baby Shower
Again, just ridiculously easy! This just takes some patience because wrapping the yard takes a while and my hands started to hurt. I am a big baby though...
- Start with a plain Styrofoam wreath
- measure out the length of each colored section you want and mark with a pen
- Wrap and hot glue as you go!
- I cut scrapbook paper into triangles and stuck "It's a Boy" letters on each one. I glued them onto raffia and tied it on.
- The wooden cut outs all came from hobby lobby and came just like that
- For his name I just painted the letters tan and dipped the end of the sponge brush in the paint to make the polka dots!

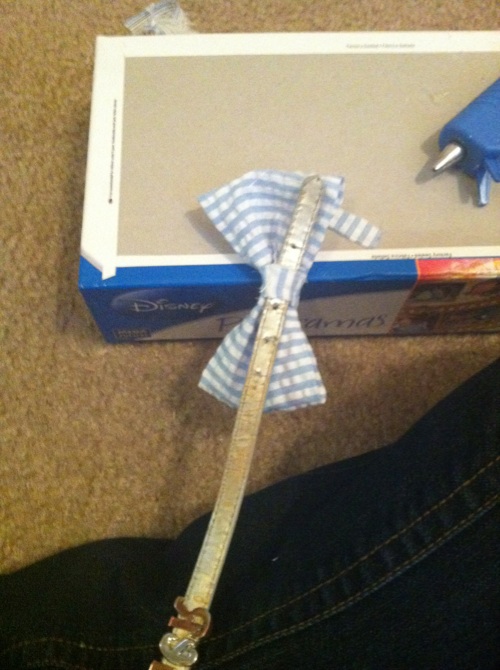
Trigger's Bow Tie
I saw these on Etsy and lovedddd them, but obviously I dont have $30 to spend on a dog collar. I googled how to make a bow tie and just replaced "sew" with hot glue!
I felt like to make a seersucker bow tie I really needed a mimosa. Luckily Jacob had champagne the jewelry store gave him for buying my ring :) I ended up not using the iron adhesive because it was so small. I bought 1/2 yard of fabric from hobby lobby and could have done with about 90% less than that! Total it was only $5

Next I cut a 12x4 inch strip. (I ended up making another that was 9x3 because this was too big for little Trigger). I folded and glued each side to make it nice and straight

Fold the sides into the middle and hot glue

Pinch in the middle and glue again

Cut another 1x3 inch strip and glue. *Glue to the front and then pinch and glue in the back so you can slip the collar through the back

I think he likes it! :) I slipped a bobby pin in the back of the bigger one, my sister will not approve!


Loving your crafts Ms. Caty! Found your sweet little blog through Hannah Lee. Hope all is well in Tennessee!
ReplyDelete