
So this week I decided to make a cute little burlap pumpkin. I'd had my first pumpkin spice latte and been to my first football game of the year, so I felt it was time to decorate for fall, which happens to be my favorite season. After I made this little dude, I had a bunch of burlap left over because I am the worst possible judge of amounts of anything. (For real, all those games when you guess how many pennies or m&m's are in a jar I normally over or under-guess by ridiculous amounts...same goes with judging distances or sizes).

Anywho...when I have random craft supplies around my house I tend to get a bit antsy and want to play. I have engagement pictures (or I guess I should say we) coming up October 6th. As I've perused pinterest I've seen all these cute burlap banners. Originally I was going to make a fall banner for my living room, but I figured what the hay, I'll just see how this comes out.
I ended up really liking it. If I do say so myself, I think it looks better than a lot of these crazy peeps on Etsy that charge $20.00 + for the same thing! You don't have to be super artsy to do this, heck, you don't even have to have good handwriting! Here's how:
So I generally like my handwriting, but I wanted something that looked really nice and neat if it would be in pictures we'll have forever. Here are the supplies you'll need:

- burlap (I bought 1 1/2 yards and made the pumpkin and had more than enough left over for this)- $7/ yard
- exacto knife- already had it but I think they're around $10 if you need one
- paint and brush- $.97/bottle
- hot glue gun- already had it
- a printer
- yarn- left over from another project, but also very cheap and you could really use anything you have laying around.
Basically if you are just buying the actual supplies for the banner you are spending about $5 total. Don't forget the 40% off coupon you can download on your phone to use on any item at hobby lobby!
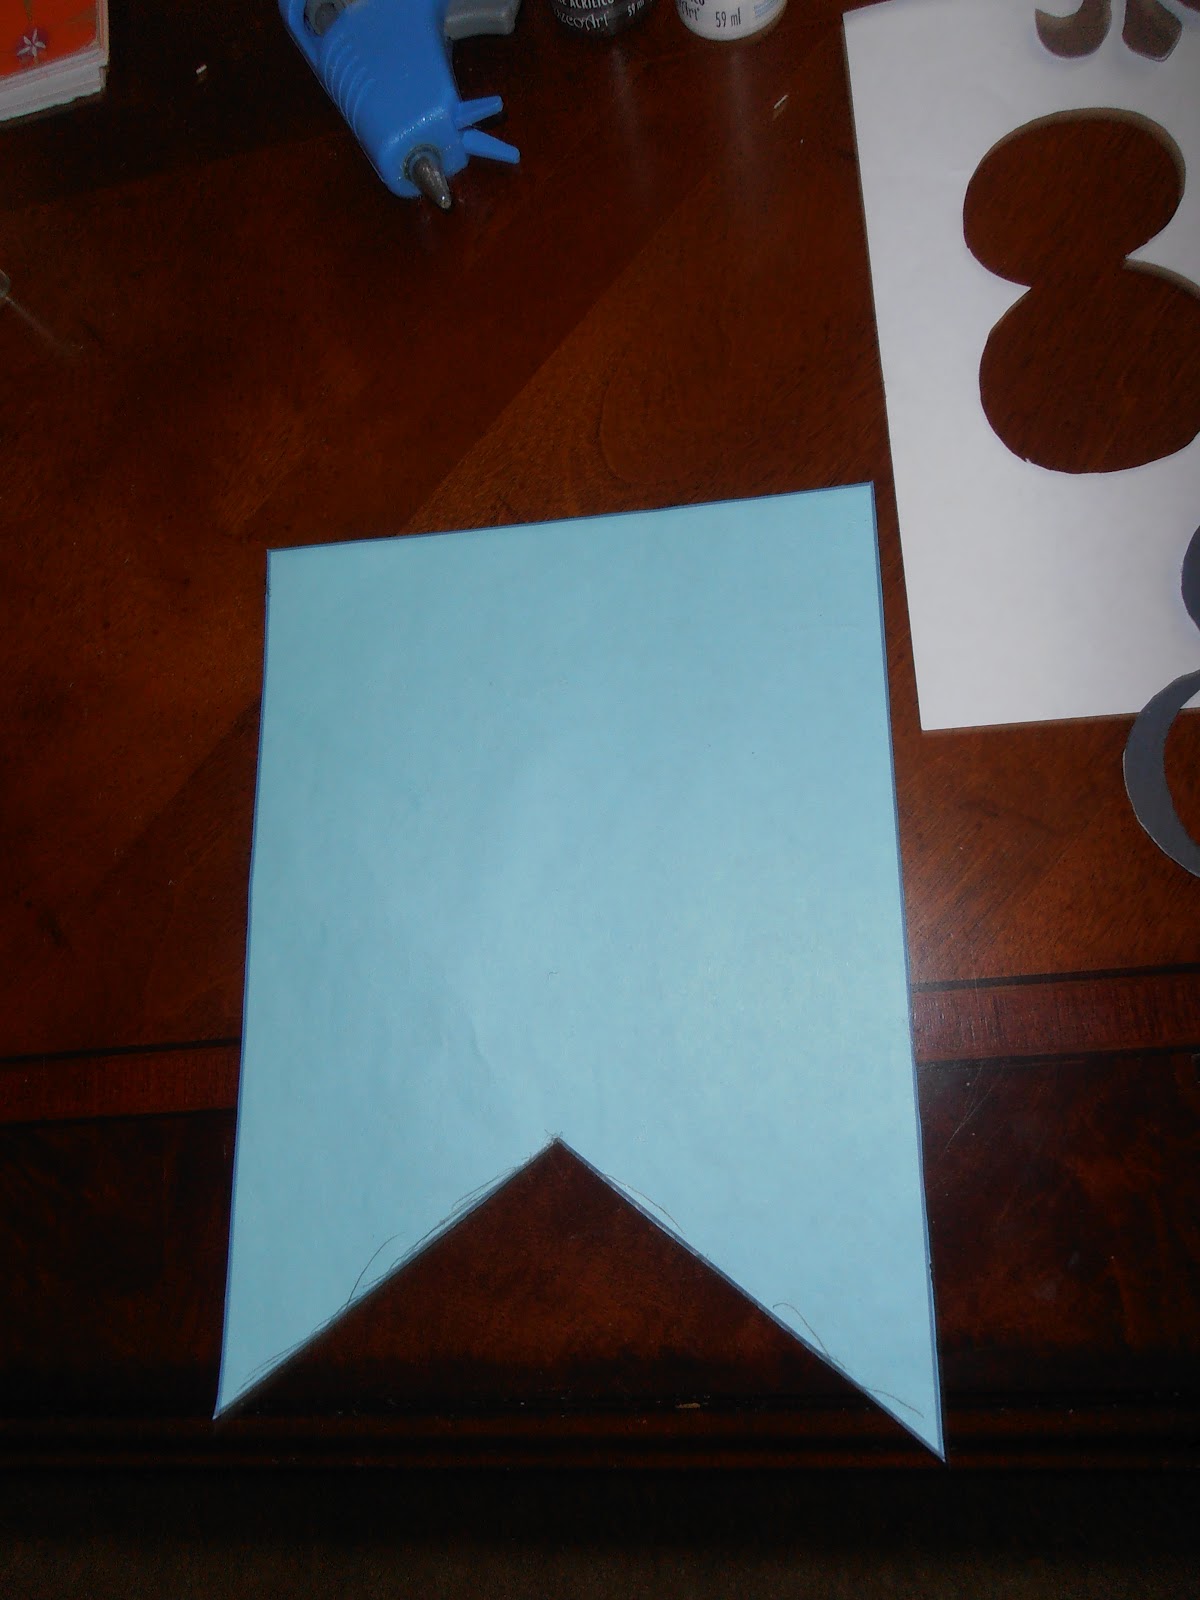
First I made a document to be my stencil for the burlap pieces:
Step 1: Insert a shape- chose rectangle (chose no fill to save your ink)
Step 2: Insert a triangle on top, this is the piece you will cut out

Step 3: Add a text box and type the size and font you want to see how much bigger or smaller your triangle needs to be

Step 4: Play around with fonts and sizes until you are happy with the look. You may need to print once to see the actual size...or at least I did. Back to that whole not being able to accurately judge sizes

I chose the California font and ended up with size 460 I believe.
I also just used a clip art fleur de lis and did it the same way- print, exacto knife, trace.
Next you will cut everything out with your exacto knife(scissors are fine for the big piece). You could use scissors for everything if you dont have an exacto knife, but it's going to be much more difficult to get it right, especially with the middle of letters like the 8.
Looks a little crooked, but it was just the way I was holding my camera.
Exacto knife is definitely the way to go

Once you have cut these out and cut out your burlap pieces, you are ready to trace. I ended up cutting out 2 pieces of fabric per flag and hot gluing together so they were more sturdy. Also they didn't have the darker burlap I wanted at Hobby Lobby when I went, and I thought this would help make it look a little darker.
Last you just hot glue a piece of yarn to the back of each flag. Here is the finished product! Much better than paying $25 on etsy + shipping if you ask me!


All this project takes is patience! You don't have to have a artist's bone in your body! If you can use Microsoft word, you can make it look professional!
***If you're curious about the pumpkin, I did it much the same way. I did have to free hand the pumpkin outline, but I cut out and traced the letters and traced the bottom of the paint bottle for the polka dots. The pumpkin is stuffed with plastic bags and the bow is green raffia. Really inexpensive door hanger!!