June 8, 2013
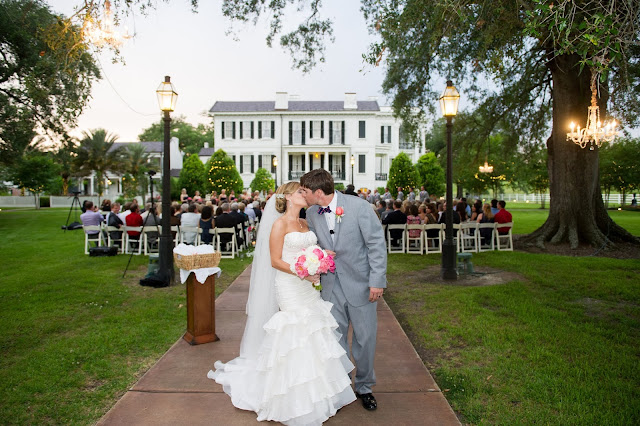
Nottoway Plantation- White Castle, Louisiana
Photographer: The amazing Brandon O'Neal Photography
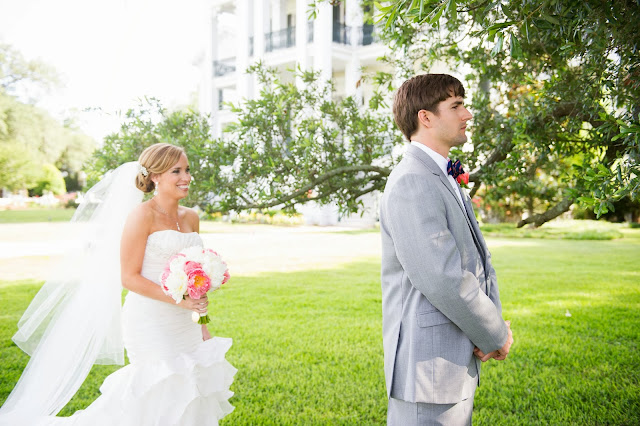
Wedding Dress: Casablanca Bridal
Reception Dress: Jessica Simpson
Shoes: Badgley Mishka
Flowers: White and coral peonies- The Plantation Florist, Port Allen, La
Cakes: The Ambrosia Bakery- Baton Rouge, La
Bridesmaid Dresses: Love Lane
Groomsmen: JCrew Ties, Squires suits
Flower Girl Dress- JCrew
Programs- Kim Swart, Simply Designed
Badgley Mishka shoes were my something blue
All of our wedding party gifts were "tie the knot" themed! JCrew ties for the guys, bow necklaces for the girls, and kate spade knot earrings for our moms!
My sister's gift to me, garter set from Etsy
I was so nervous that a first look would take the "magic" away from the moment when I walked down the aisle...so wrong! They are 2 completely different and amazing moments!
Flowers by The Plantation Florist... obsessed with peonies!
My amazing grandmother left us the February before our wedding. I had a picture of her and my grandfather in a locket attached to my bouquet. I loved having them with me all day!
Bridesmaid dresses- Love Lane
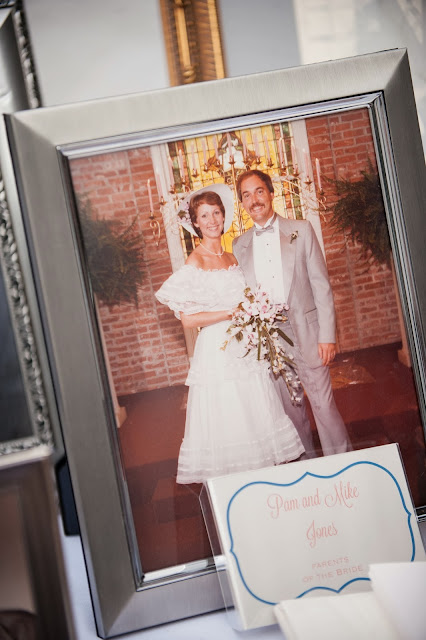
One table held photographs from our parents, grandparents, and great grandparents weddings!
My wonderful friend Kim Swart designed these programs for me! I knew what I wanted and couldn't find the perfect design anywhere. I found programs similar on Etsy, but they ran around $4/ program for double sided...no thanks!! I just told Kim my idea and she brought it to life! I hand glued each on the sticks and tied ribbon. I don't recommend waiting until the week before the wedding to tackle this!
Look Kim up on facebook or click this link- Simply Designed
Also, she designed most of my shower invitations and save the dates! See them here!
Also, she designed most of my shower invitations and save the dates! See them here!
Note: this is Kim...she stood next to me for my wedding (OUTSIDE, in Louisiana, in June) literally 9 months pregnant, with twins!! She had the beautiful Kadence and Kinsley just 6 days later!
I had a hard time finding a cake topper I liked, so I made this! I just took a wooden letter from hobby lobby and hand glued flat sided pearls and rhinestones (which I bought from Amazon for around $3).
Ties- JCrew
We got really lucky with our ties! We bought them on black Friday for 50% off and then they gave me an extra 15% off on top because I'm a teacher! I'm obsessed with JCrew.
We got really lucky with our ties! We bought them on black Friday for 50% off and then they gave me an extra 15% off on top because I'm a teacher! I'm obsessed with JCrew.
We had easily the most precious ring bearer and flower girl ever! Ava's dress was JCrew and Tobey's bowtie was from Etsy.
Both Cakes are from The Ambrosia Bakery in Baton Rouge....simply amazing! The groom's cake topper is actually a Christmas ornament Jacob's Granny gave us at our Christmas shower! I loved this cake! It was classier (in my humble opinion) and MUCH cheaper than a full out drum cake! Disclaimer, those are super cute when done right!
Praline favors!
I HIGHLY recommend changing dresses for the reception! This Jessica Simpson dress was so light and I was so comfortable!


